


Achieving the ideal winged eyeliner has become a coveted goal in the realm of makeup artistry. This timeless technique dramatically enhances your eyes, providing that much-desired definition and flair that can elevate your appearance from mundane to mesmerizing. However, for many makeup enthusiasts, mastering the art of perfectly symmetrical wings can often feel like an unattainable dream, leading to irritation and wasted time in front of the mirror. Today, we are excited to unveil a revolutionary hack that will transform your eyeliner application, enabling you to craft flawless wings in a mere 30 seconds.
Unleashing the Allure of Winged Eyeliner
Before we delve into our groundbreaking method, it’s essential to comprehend why winged eyeliner has sustained its status as a beauty staple through the ever-evolving trends in makeup. The enchantment of winged liner lies in its remarkable ability to accentuate your natural eye shape while simultaneously delivering an immediate lifting effect. When flawlessly applied, this technique not only makes your eyes appear larger and more defined but also subtly enhances the overall contour of your face, creating a harmonious balance.
The uniqueness of winged liner is its versatility; it transcends occasions and styles. Whether you’re preparing for a day at the office, a casual brunch with friends, or an elegant evening event, a meticulously drawn wing adds a touch of sophistication to any ensemble. The beauty of this technique is its adaptability—you can opt for a delicate, thin line for daytime elegance or intensify the look for dramatic after-dark allure, making it a must-have in every makeup lover’s toolkit.
Master the 30-Second Eyeliner Hack: The Tape Technique
Now, let’s get to the highly anticipated moment—our foolproof approach to achieving impeccable wings every single time. The secret? A simple piece of tape or a sticky note. This everyday office supply becomes your ultimate guide, ensuring sharp, symmetrical wings with the precision of a professional artist.
Begin by cutting a small piece of tape, roughly an inch in length. Here’s a vital tip that many tutorials overlook: gently press the tape against the back of your hand first. This crucial step reduces the tape’s adhesive strength, ensuring it won’t tug at the delicate skin around your eyes upon removal. Position the tape diagonally from the outer corner of your eye, angling it toward the tail of your eyebrow. This strategic placement creates the ideal template for your wing.
With our Long Last Liquid Eyeliner in hand, confidently trace along the edge of the tape. The tape serves as your steady guide, enabling you to create a sharp, clean line without any wobbles. Once you remove the tape, you’ll unveil a perfectly defined wing that looks like it was crafted by a professional makeup artist, elevating your eyeliner game to new heights.
Essential Tips for Swiftly Perfecting Your Winged Liner
Now that you’re familiar with the basic tape technique, let’s discuss how to customize and refine your wing. Discovering your perfect angle is crucial for achieving a flattering look. Pay attention to the natural curve of your lower lash line; this will serve as your guide for wing placement. The wing should appear as a natural extension of this curve, angled slightly upward to create that sought-after lifting effect that enhances your features.
If you prefer to forgo the tape method, consider the dot technique as an alternative strategy for achieving symmetrical wings. Start by placing small dots along your desired wing path, beginning from the outer corner of your eye and extending upward. These dots act as a roadmap, enabling you to connect them smoothly with your Long Last Liquid Eyeliner. This method helps maintain consistency between both eyes while granting you greater control over the shape of your wing.
To ensure your perfectly crafted wings take center stage, keep the rest of your eye makeup subtle. A light wash of neutral eyeshadow paired with our Fruit Pigmented® Ultra Lengthening Mascara provides the ideal backdrop for your winged liner to shine. The precise brush of the mascara guarantees clump-free lashes that complement your sharp wings without overwhelming them, ensuring a polished and sophisticated look.
Identifying and Correcting Common Winged Liner Errors
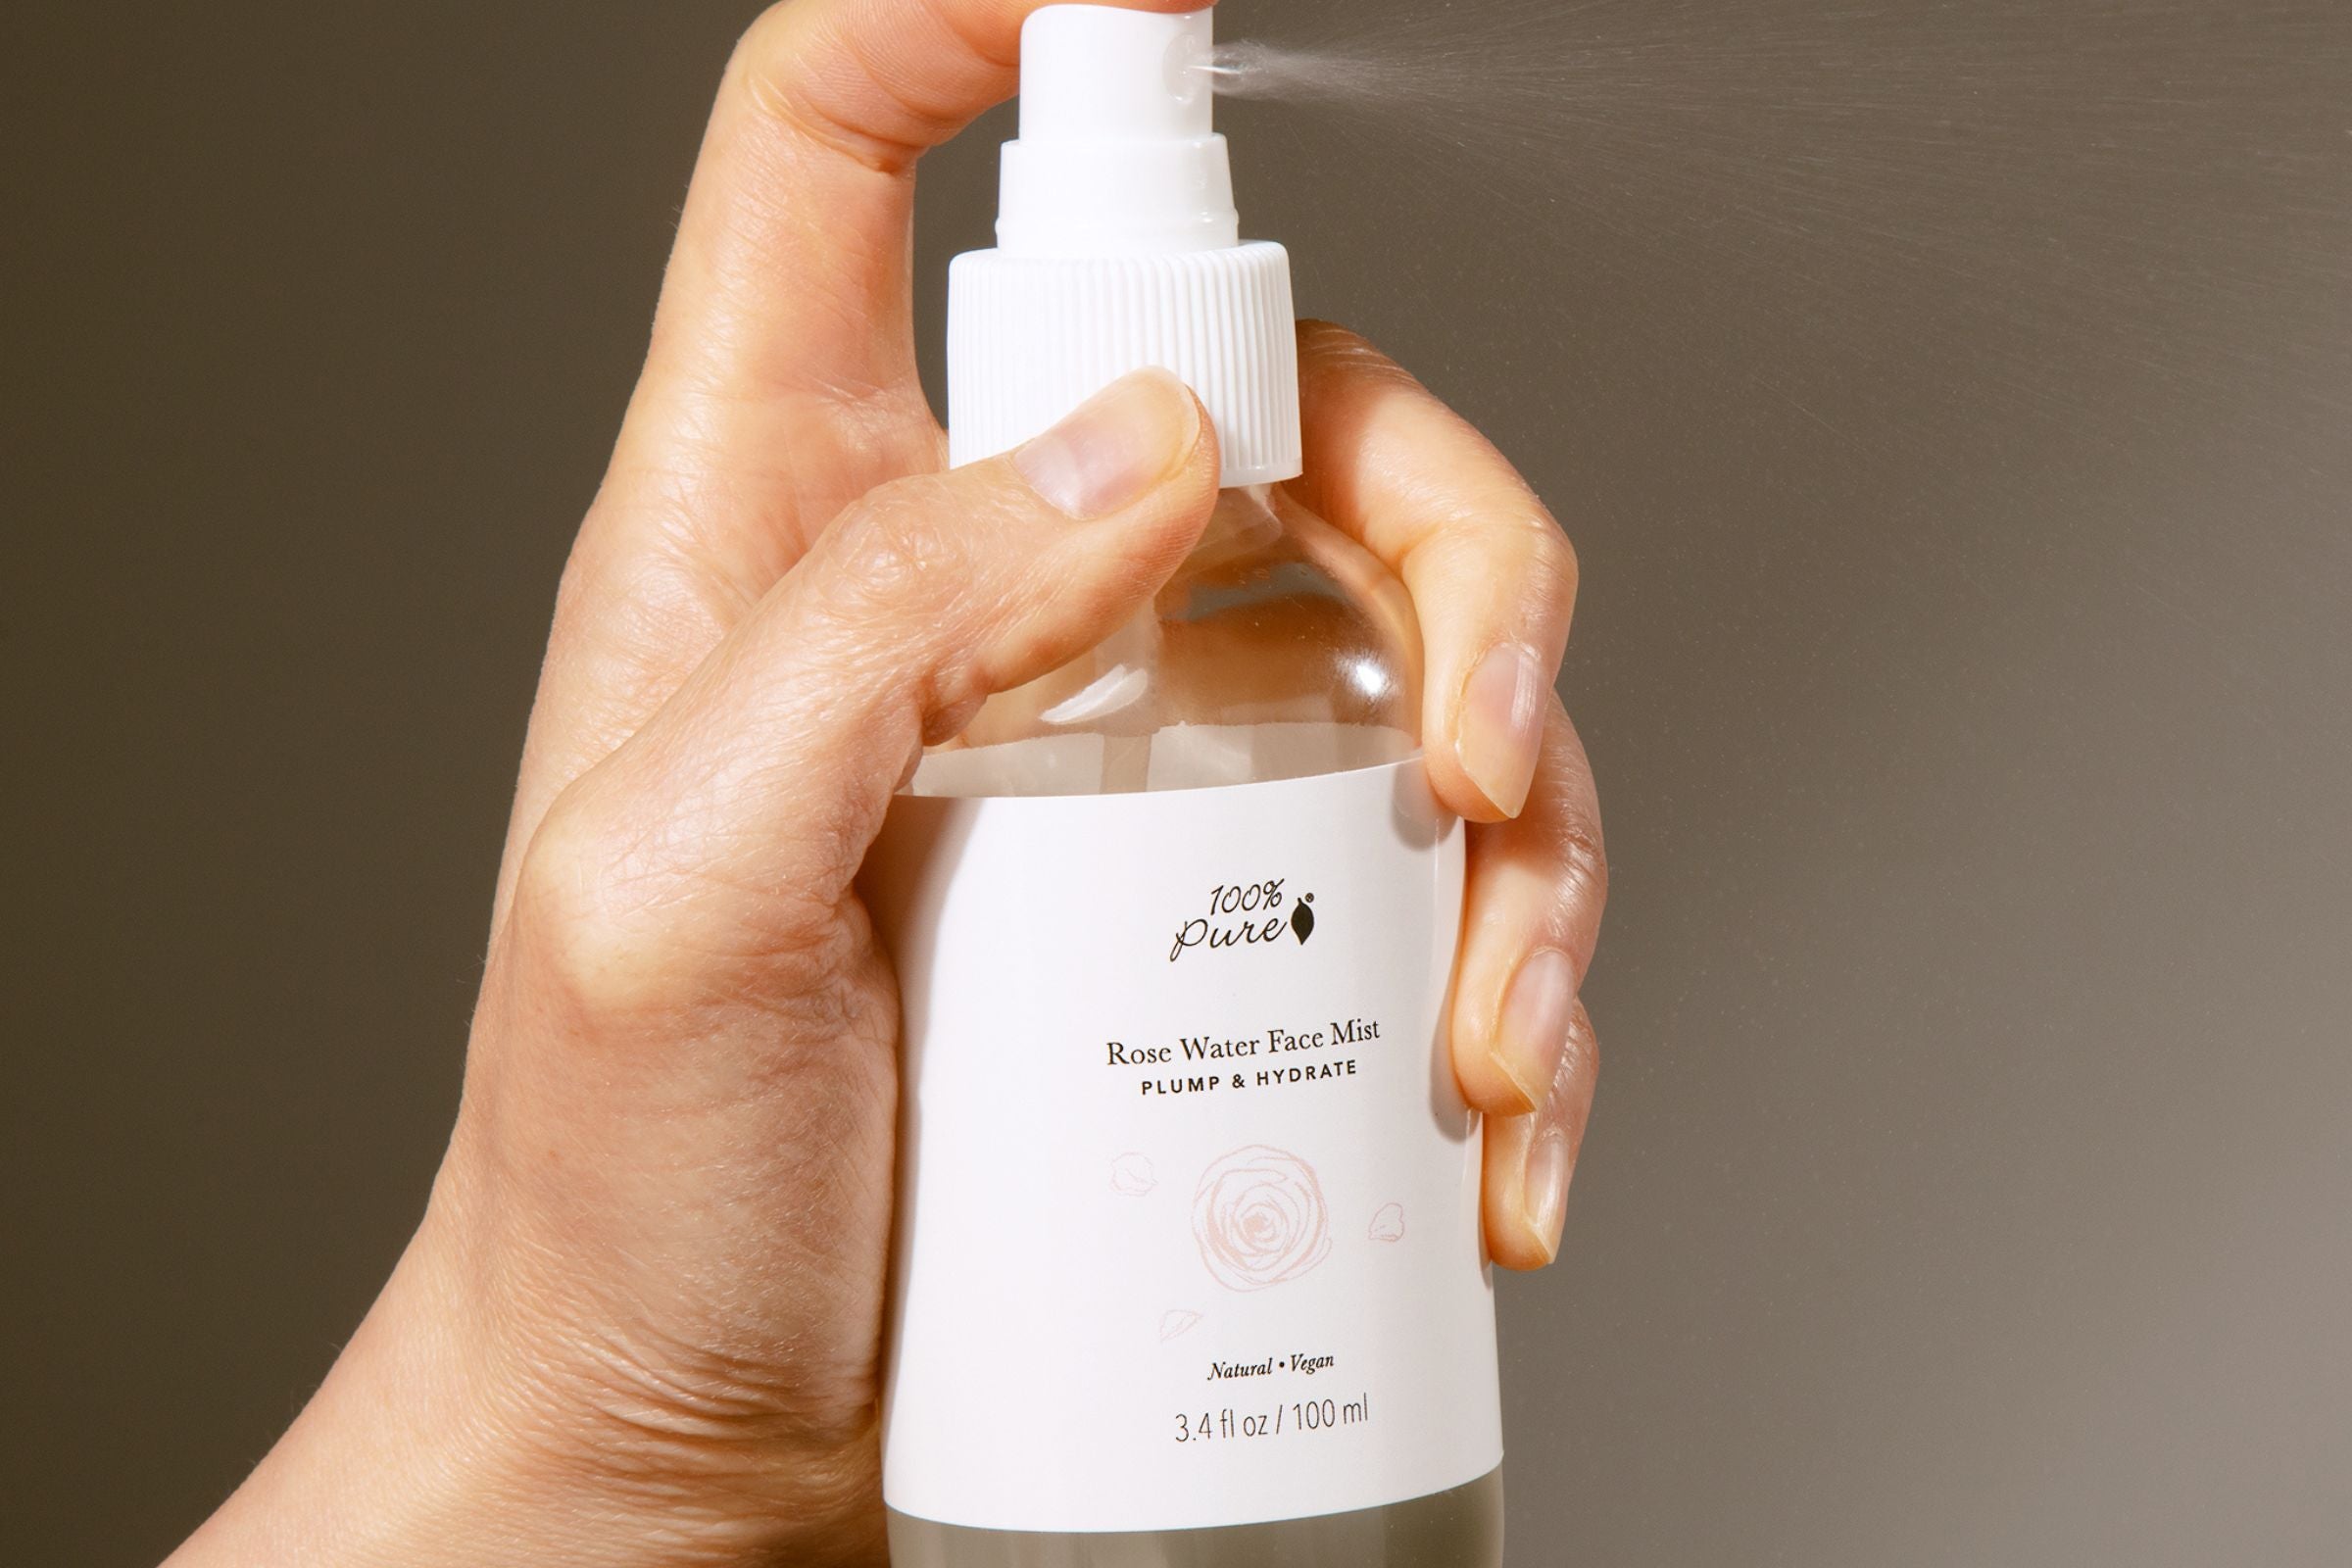
Even with our foolproof technique, it’s not uncommon to encounter occasional mishaps. When faced with uneven wings, resist the temptation to keep piling on more liner in an attempt to match them. Instead, utilize a cotton swab dipped in micellar water or our Rose Water Face Mist to refine and reshape the wing. Remember, making small adjustments can lead to significant improvements in achieving symmetry and balance.
Often, shaky lines result from improper positioning rather than a lack of skill. Ensure you’re positioned at eye level in front of a mirror, with your elbow resting on a steady surface. This setup creates a solid base for precise application. Rather than attempting to create your wing in one continuous stroke, break it down into short, connected strokes to maintain control and achieve a smooth, even line.
To prevent smudging throughout the day, set your liner with a matching matte eyeshadow. Our Long Last Liquid Eyeliner already boasts impressive staying power, but this additional step guarantees your wings remain crisp and defined from dawn till dusk. This technique becomes particularly essential for those with hooded eyes or oily eyelids, ensuring your perfect wings stay intact.
Enhance Your Winged Liner with Perfect Finishing Touches
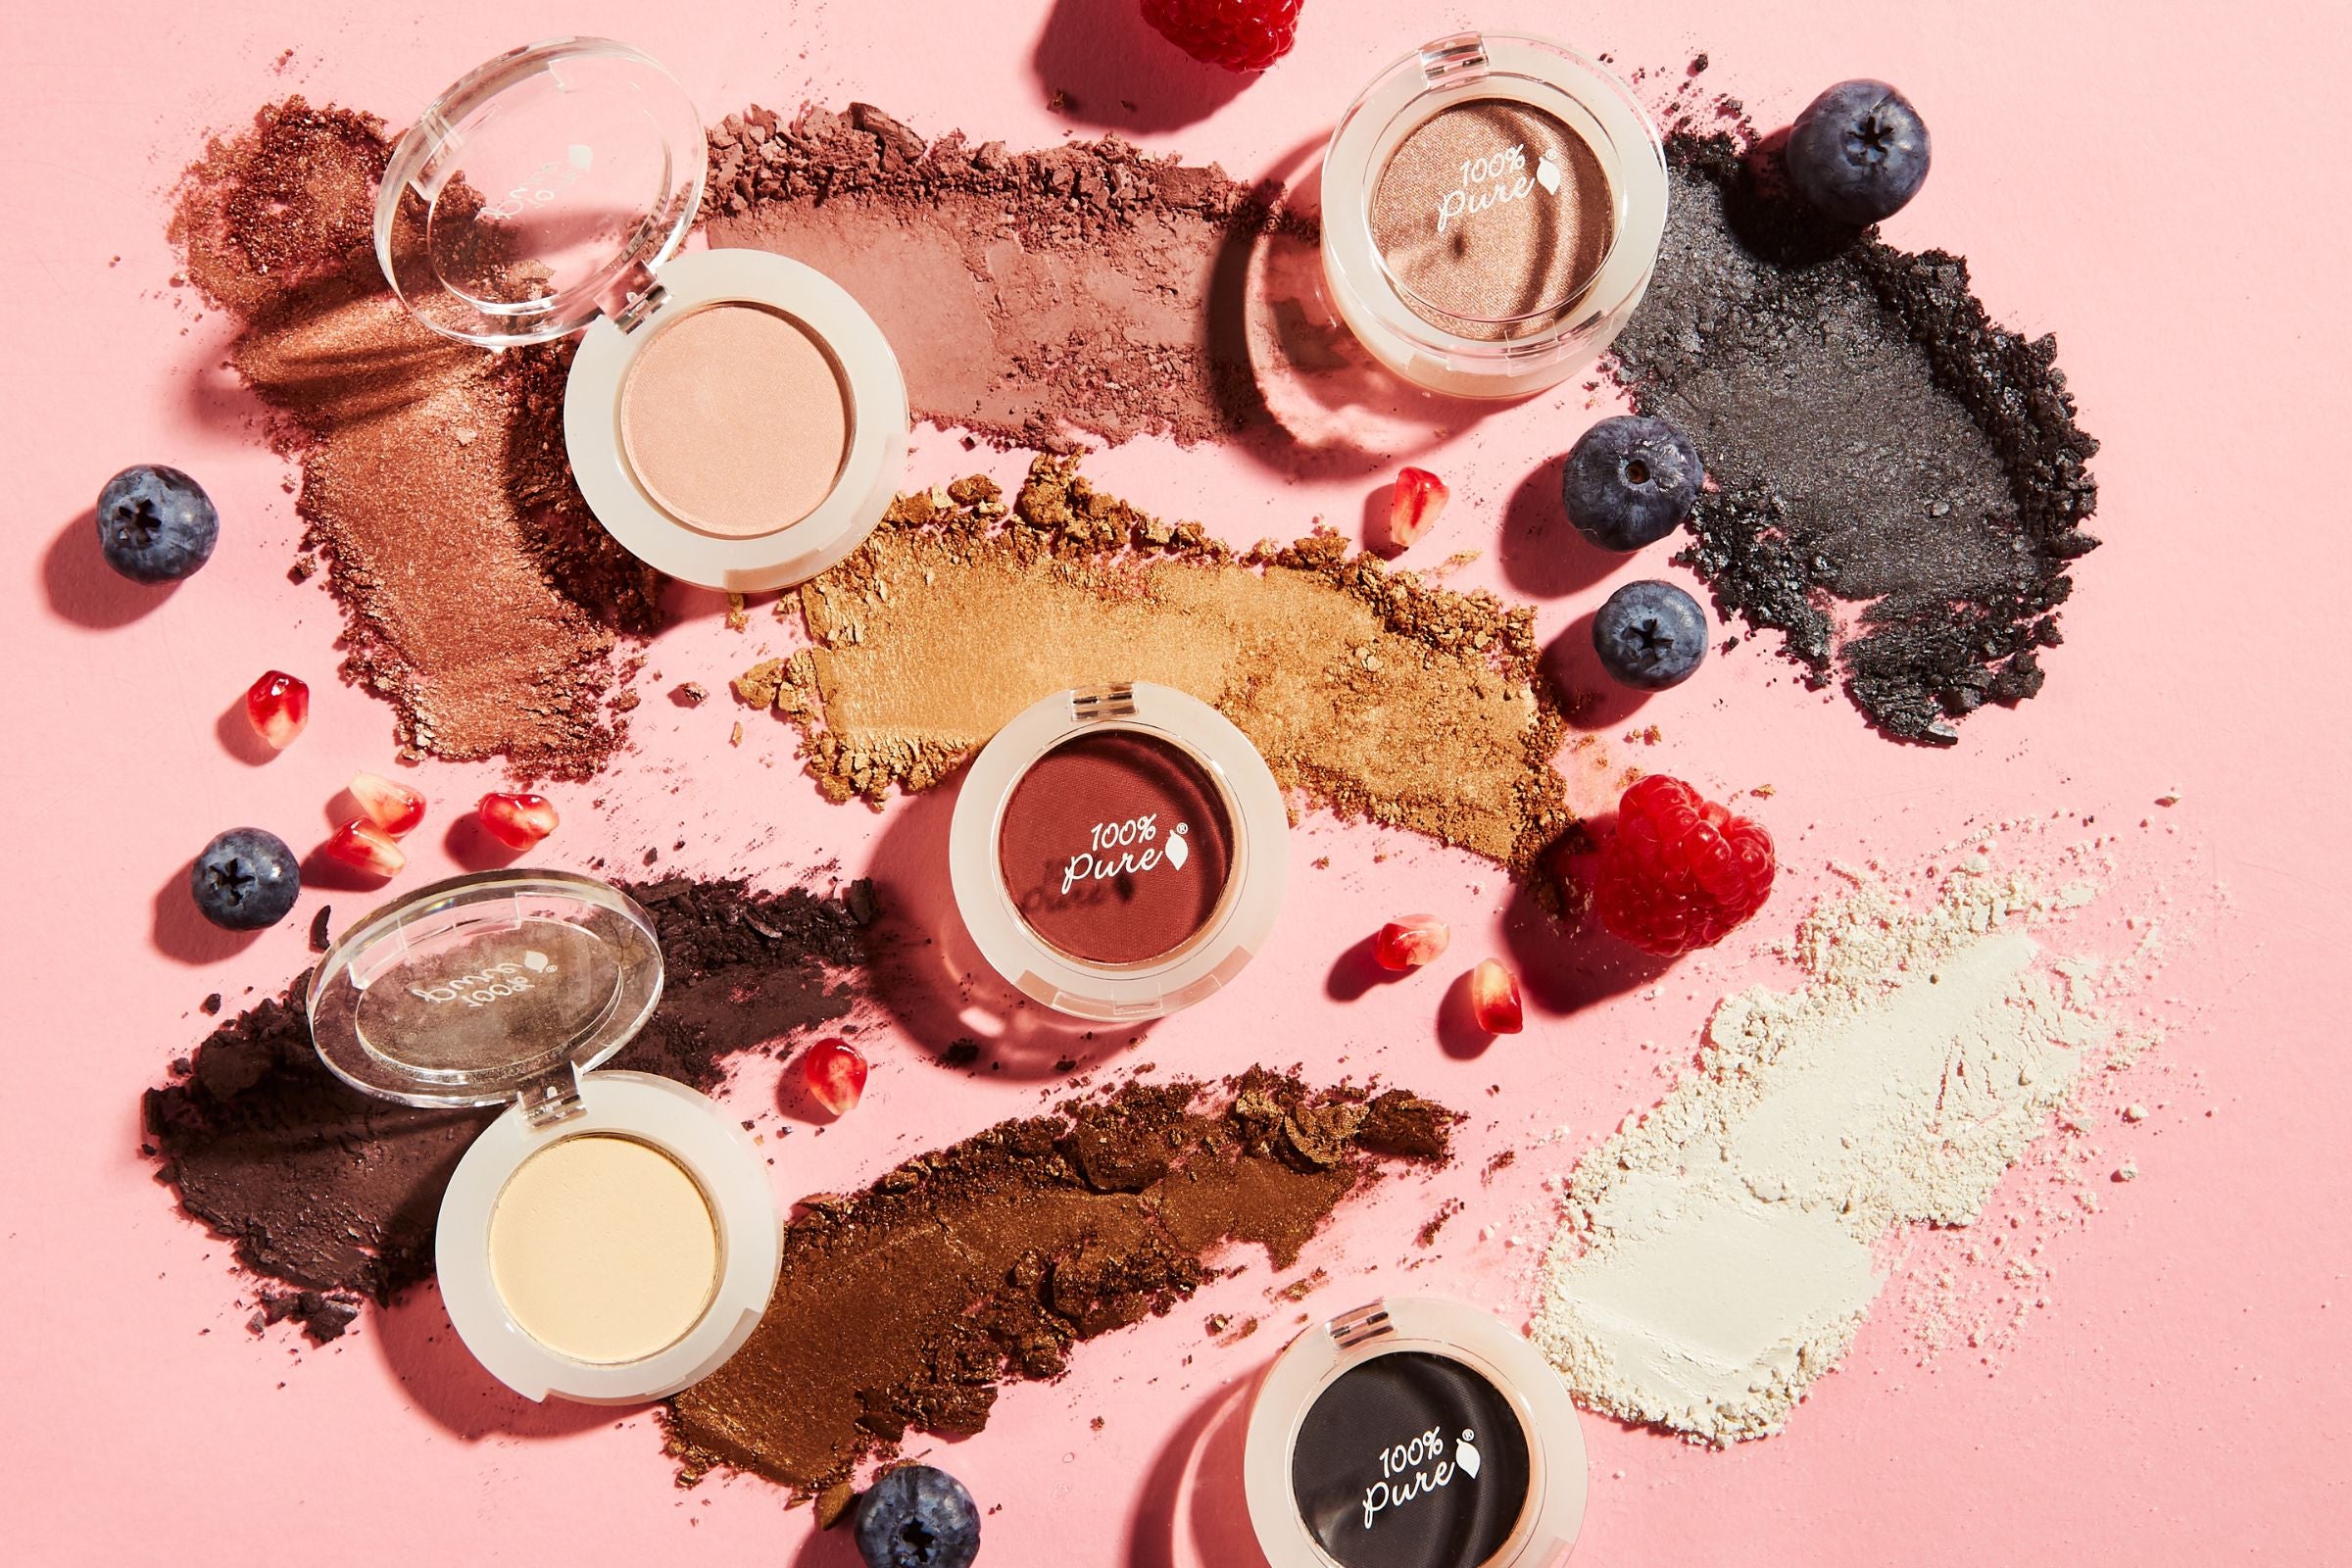
The flawless winged liner deserves complementary elements that enhance its impact while maintaining visual balance. Start by brightening the inner corners of your eyes with our Fruit Pigmented® Eye Shadow. This subtle highlighting technique creates a striking contrast with your sharp wings, making your eyes appear larger and more vibrant. Use a small brush to apply the shadow, concentrating on the innermost corner and blending gently onto the lower lash line for a seamless finish.
Enhancing your lashes is a crucial aspect of completing your winged liner look. Begin by curling your lashes to generate a lifted base that beautifully complements the upward angle of your wing. Follow this with our Fruit Pigmented® Ultra Lengthening Mascara, applying it from root to tip while paying special attention to the outer lashes. This targeted application reinforces the lifting effect of your wing, creating a cohesive look that blends your natural lashes with the liner.
Defined brows serve as the perfect frame for your winged liner masterpiece. Our Green Tea Fiber Brow Builder adds natural-looking fullness while keeping a soft appearance that balances the precision of your wings. Apply the product with upward strokes to mimic natural hair growth, focusing on creating a gentle arch that echoes the lift of your wing and completes your polished look.
Your Winged Eyeliner Questions Answered
How do I select the ideal wing shape for my eye type?
When determining your perfect wing angle, consider your natural eye shape. For round eyes, aim for a wing that angles slightly upward to create a sense of elongation. Hooded eyes benefit from a straighter wing that remains visible when your eyes are open. Remember, the tape trick is versatile and works for all eye shapes—simply adjust the angle of placement to suit your unique features for the best results.
What is the best eyeliner choice for beginners?
For beginners, we recommend starting with a liquid liner that features a firm, precise tip, such as our Long Last Liquid Eyeliner. Its controlled flow and ergonomic design facilitate steady pressure while you draw your wing. Additionally, the quick-drying formula helps prevent smudging as you refine your technique.
How can I ensure my eyeliner stays put all day?
Begin with clean, oil-free eyelids and consider applying an eye primer. Our liquid liner is designed for long-lasting wear, but setting it with a matching eyeshadow provides extra assurance that it won’t budge. Allow each layer to dry completely before applying additional products or fully opening your eyes.
What’s the simplest way to correct a mistake while applying winged liner?
Keep pointed cotton swabs and micellar water handy for precise correction. Dip the swab into the solution and gently refine any uneven edges. For minor adjustments, wait until your liner dries completely, then carefully reshape using short strokes to maintain control and achieve a polished look.
Can I achieve a winged liner look if I have hooded eyes?
Absolutely! The key for hooded eyes is to create your wing with your eyes open, ensuring proper placement. Position the tape slightly lower than you would for other eye shapes and keep the wing straight rather than angled upward. This approach guarantees that your wing remains visible and striking, regardless of your eye shape.
Empower Your Makeup Skills with Winged Eyeliner Mastery
Achieving the perfect winged liner does not have to be an elusive aspiration or a tedious endeavor. With our 30-second tape trick and the right products, you can consistently achieve professional-looking results in no time at all. Remember, practice makes perfect—taking the time to understand your unique eye shape and preferred wing style will significantly enhance your technique.
As you become more proficient with this iconic look, don’t hesitate to experiment with varying wing lengths and thicknesses to discover what best complements your unique style. The beauty of winged eyeliner lies in its versatility and timeless charm. With these techniques and our precision-crafted products, you are well-equipped to create stunning wings that not only enhance your natural beauty but also boost your confidence to new heights.
