


Hello, beautiful creatures! Today, I’m excited to share with you the step-by-step process of achieving stunning velvet nails. For quite some time, I have been enamored with the plush elegance that velvet nails exude. However, I encountered challenges while trying to create exquisite designs using magnetic polish. After much experimentation, I finally discovered a technique that yields fantastic results, and I can’t wait to pass it on to you!
All the products mentioned in this guide have been personally purchased by me. Some of the links provided are affiliate links, which means I earn a small commission from purchases made through them, at no extra cost to you. Your support helps maintain my site, and I sincerely appreciate it when you choose to shop through my links!
If you need assistance with how to properly prepare your nails for a manicure or how to apply full coverage tips, be sure to check out my comprehensive guide!
Essential Products Used in My Velvet Nails Video Tutorial
Top Magnetic Polish Brands I Trust for Velvet Nails
- Luxie Nail (I own Poseidon & Hephaestus) (gel polish)
- Mooncat Polish (I own Cheshire Cat and Millennia and adore them) (regular polish)
- KBShimmer (regular polish)
- ILNP (regular polish)
- iGel Beauty (gel polish)
- Madam Glam (gel polish)
I’ve curated a list of three regular polish brands and three gel polish brands, all of which are exceptional for creating beautiful magnetic polish. Each of these brands offers unique colors and finishes that can elevate your nail art to a whole new level.
Step-by-Step Guide to Achieving Velvet Nails with Gel Polish
When it comes to nail art, gel polish is the most user-friendly option, especially for crafting intricate designs like velvet nails. I personally faced challenges in creating nail designs I adored until I discovered the fabulous velvet manicure technique and acquired my U magnet. A heartfelt thank you to the vibrant community of nail polish enthusiasts on Reddit, especially the Laqueristas, who recommended this amazing magnet. Your tips have been invaluable!
- Begin by prepping your nails for a manicure and apply full coverage tips if you use them.
- Apply one to two coats of your base color, then cure each layer for 30 seconds in your LED lamp.
- Next, apply one layer of magnetic gel polish and place your finger inside the U magnet, holding it there for 30 to 60 seconds.
- Immediately cure the design for 30 seconds to ensure it locks in place.
- Repeat the process with a second layer of the magnetic gel polish.
- Finally, seal your stunning design with a top coat and cure it.
Expert Troubleshooting Tips for Flawless Velvet Nails
Here are my top three troubleshooting tips to help you achieve the most beautiful velvet nails. If you find that your designs aren’t turning out as expected with the magnets, I highly recommend investing in a U magnet. If your design appears to blur, it’s crucial to set the design more quickly. Consider using a quick-dry top coat to achieve this. Lastly, if you’re not seeing the desired results with the magnetic polish or a shimmer, opt for a solid cream base shade instead of a shimmer or glitter.
Invest in a U Magnet for Best Results
Seriously, you need to get a U magnet. I’ve tried magnets from various brands like Mooncat, KBShimmer, and Polish Pickup, but none have allowed me to create designs as stunning as my velvet nails. The precision and effectiveness of the U magnet are unmatched, and it makes all the difference in achieving that perfect look.
Utilize a Quick Dry Top Coat for Regular Polish
If you’re using regular polish, a quick-dry top coat is essential. Many nail enthusiasts have reported that Seche Vite is not the best option for magnetic designs, as it may cause blurring. In my experience, the Mooncat Speed Demon Top Coat works wonders. Additionally, Out the Door Quick Dry Top Coat is another excellent choice for achieving crisp designs.
When working with regular polish, I often notice that the magnetic design tends to blur and disperse, which can be frustrating.
Choose a Solid Base Shade for Enhanced Design Clarity
While I love using various shimmery colors, opting for a solid base, such as black or any solid hue you prefer, can significantly enhance the clarity of your design. Shimmery colors, like the ones I often use, can sometimes make the magnetic design less distinct, so a solid base can intensify the overall effect.
Watch My Velvet Nails Video Tutorial for Visual Guidance
Be sure to check out my how to do velvet nails video tutorial on Instagram. You’ll also find a captivating video showcasing the nail polish in both direct morning sunlight and in soft, indirect lighting.
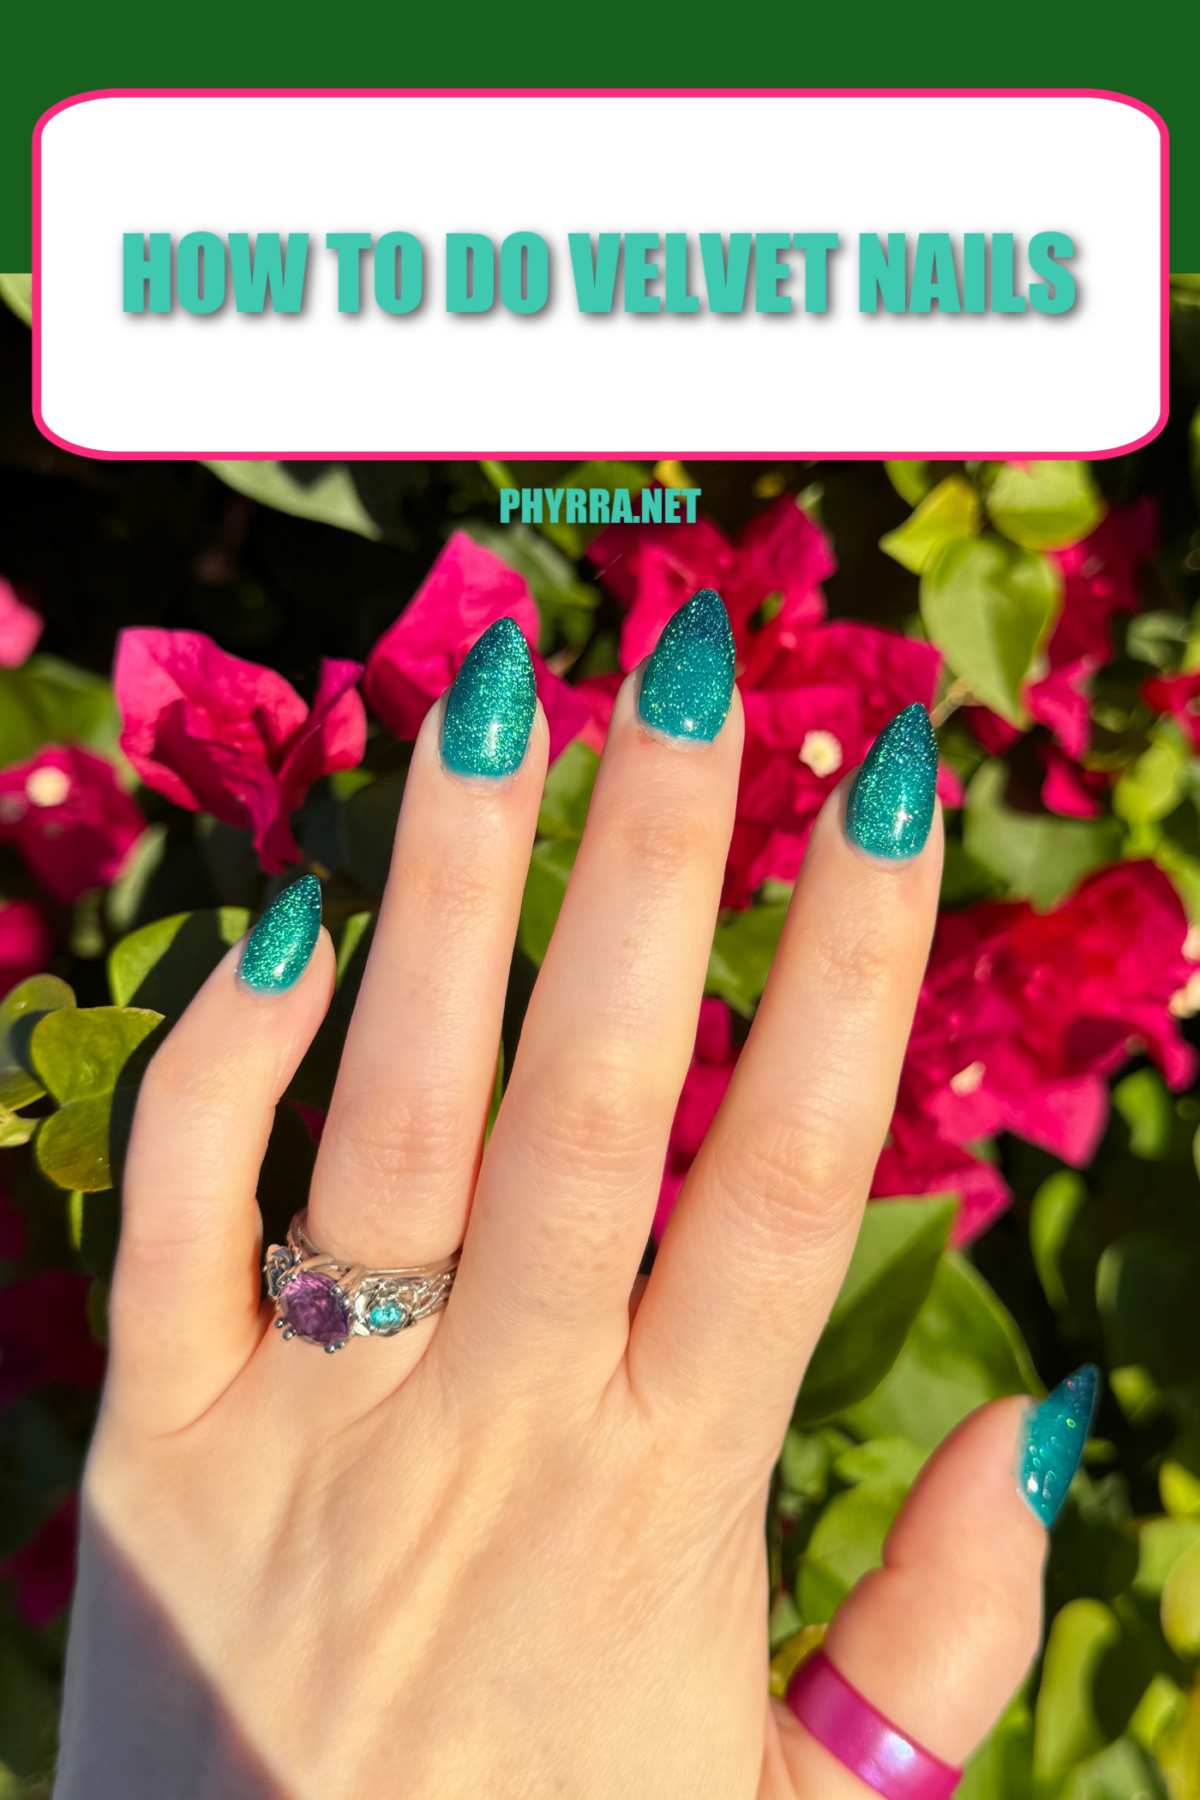
My Stunning Winter Holiday Velvet Nails Design
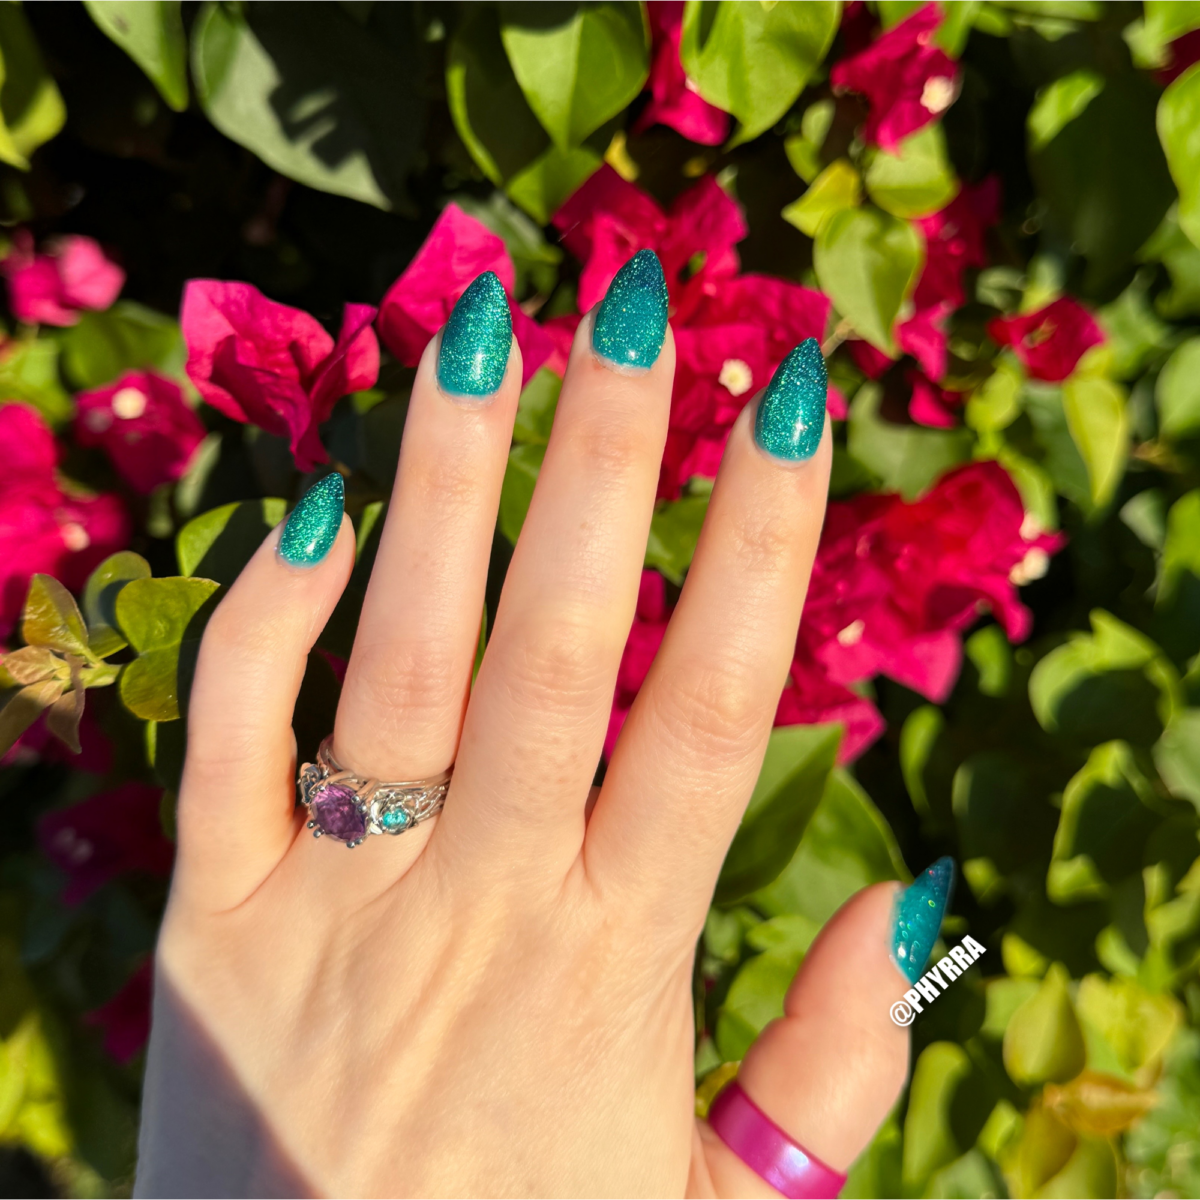
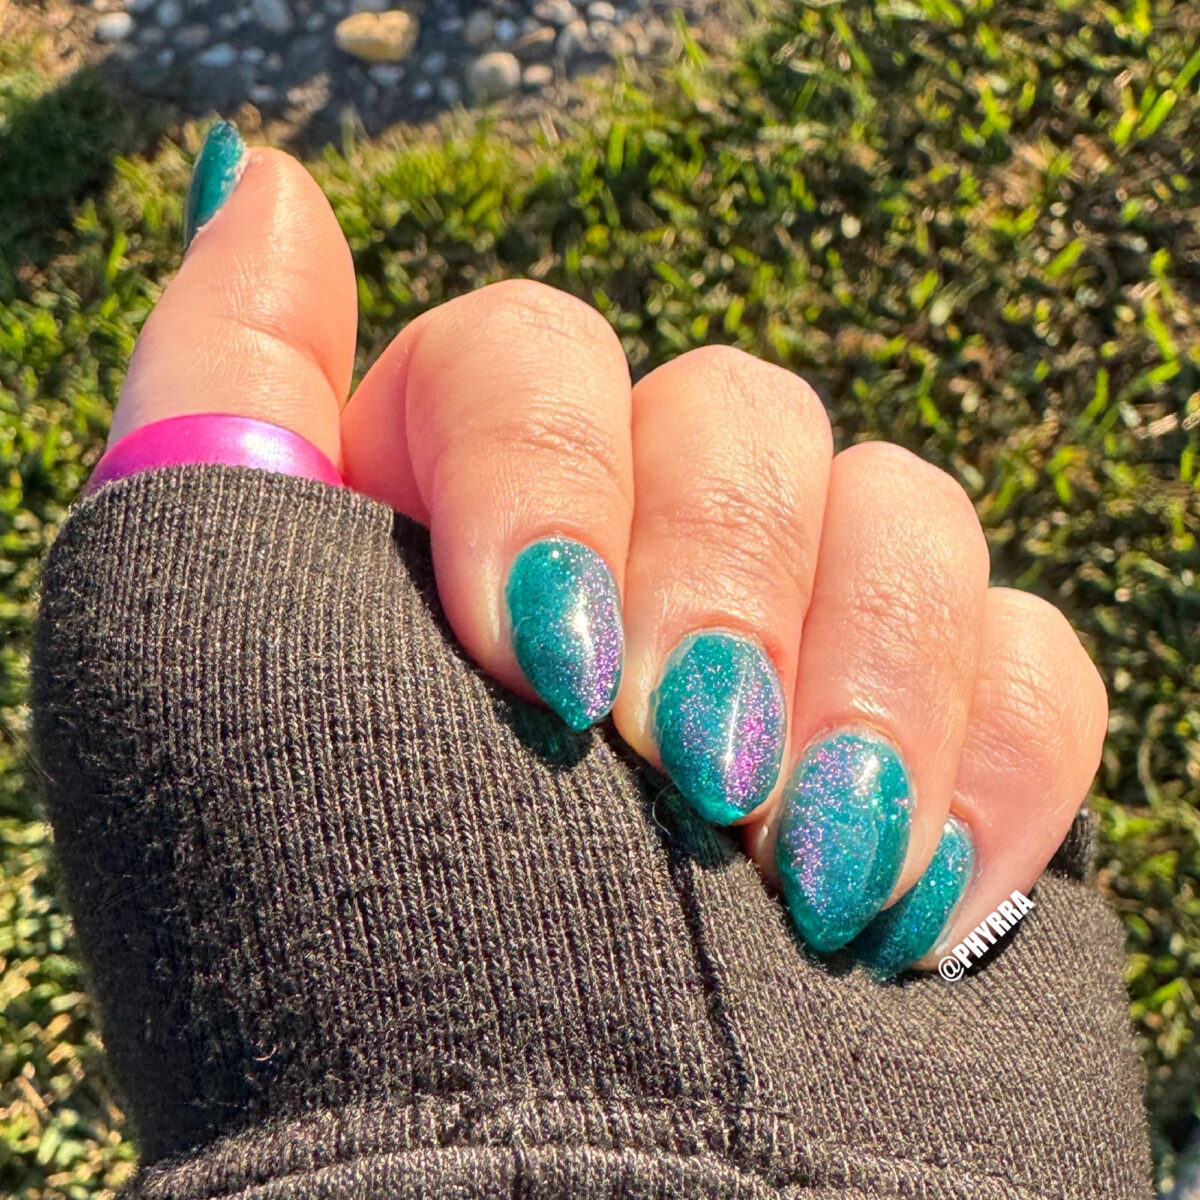
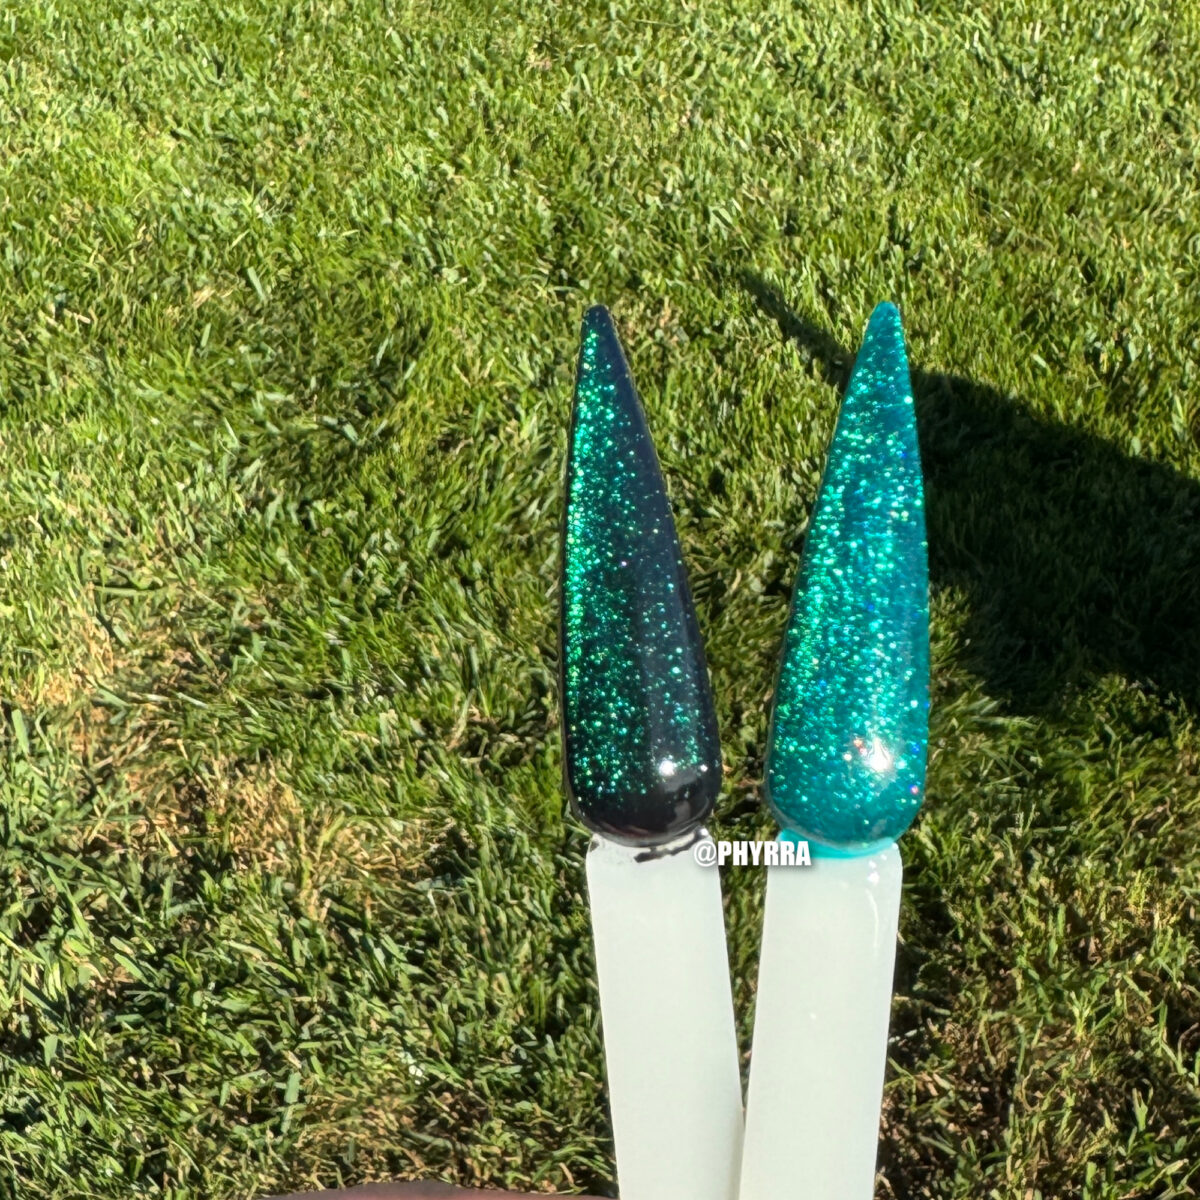
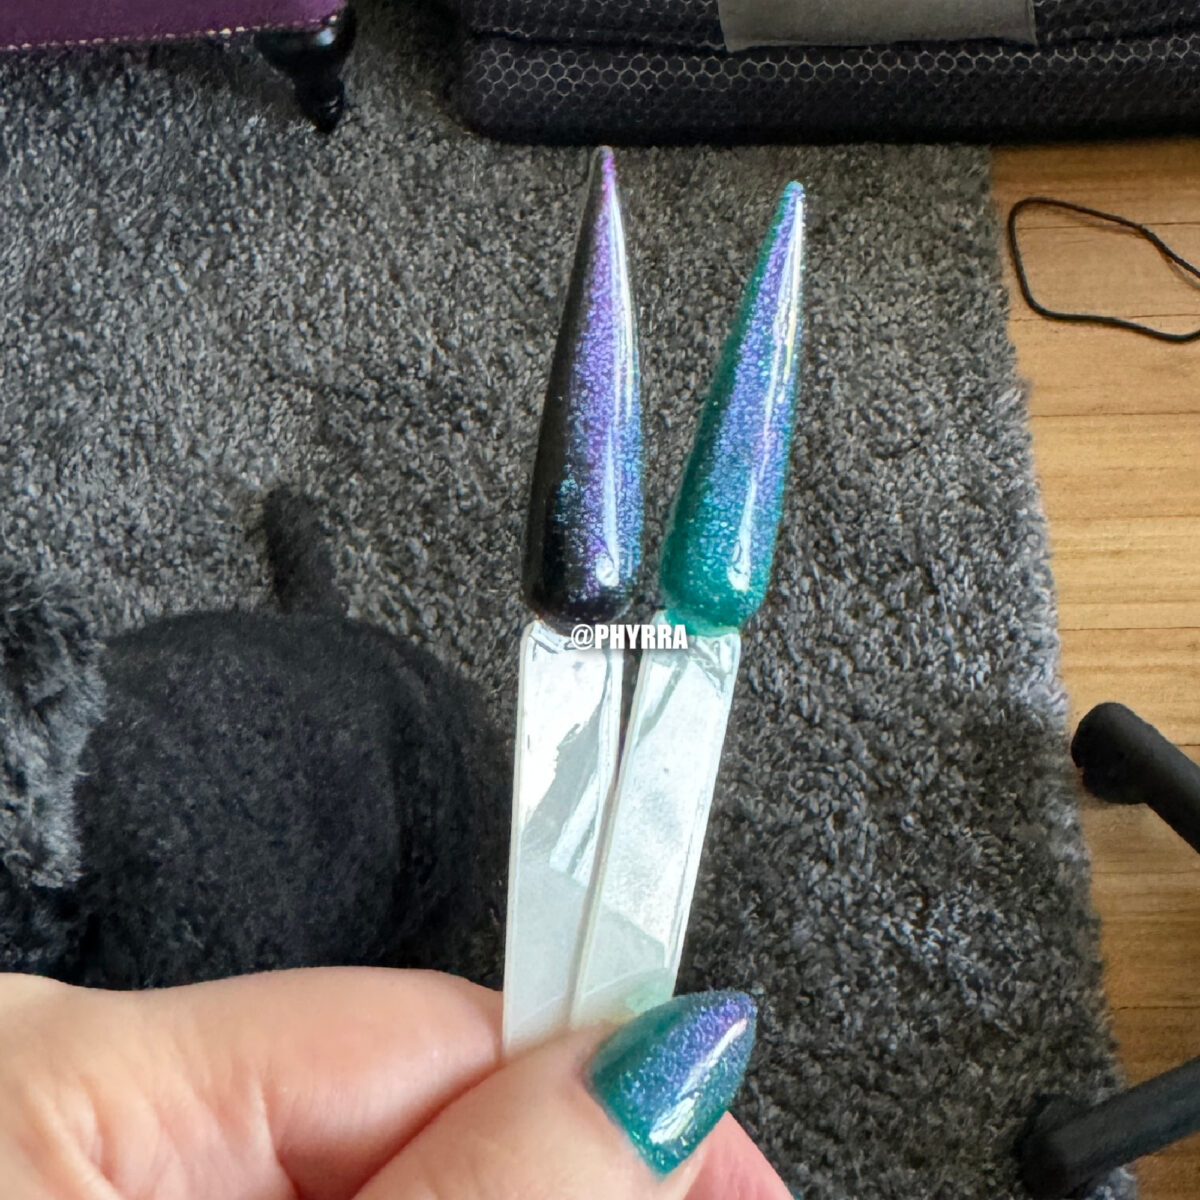
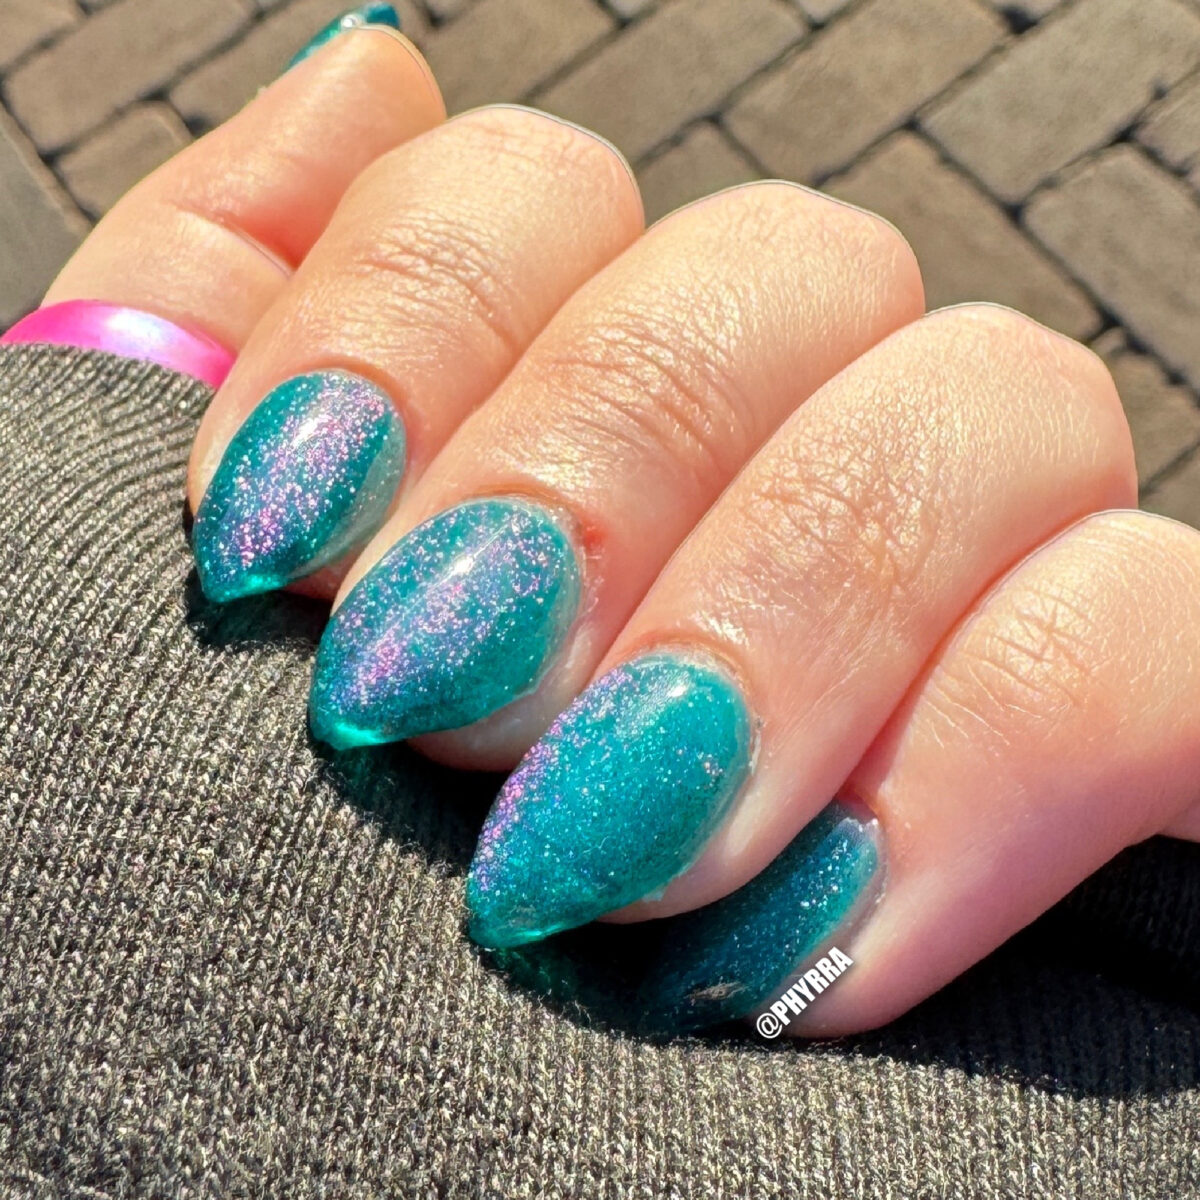
For my stunning winter holiday velvet nails, I applied two coats of Madam Glam It’s Not X-Mas Yet, followed by two coats of Luxie Nail Poseidon while utilizing the U magnet, and finished it all off with the Daily Charme Diamond Shine Top Coat.
I have a deep love for jewel tones, which complement my skin tone beautifully. My absolute favorite winter nail color is emerald green, particularly when it incorporates a touch of purple for added depth and richness.
Have you had the chance to try velvet nails? I would love to hear about your favorite nail colors and designs that you enjoy during the winter season!
