


[ad_1]
The art of contouring has transitioned from a hidden beauty technique used behind the scenes to a staple in the daily makeup routines of enthusiasts everywhere. Once reserved for celebrities gracing red carpets or dazzling under professional studio lights, this method is now celebrated by makeup lovers across the globe.
At its essence, contouring is not about altering one’s appearance but rather about enhancing it. The primary goal is to highlight the natural angles and structure of your face, allowing the true you to shine through. When executed correctly, it provides subtle definition and balance, empowering you to showcase your features with confidence and ease. Rather than changing your face, it’s about embracing and celebrating your unique beauty.
Understanding Contour Makeup: Techniques for Flawless Definition
Contouring is a sophisticated makeup technique designed to enhance your face’s natural shape by employing the interplay of light and shadow to generate depth, definition, and lift. The fundamental concept is straightforward: darker shades recede, while lighter shades bring features to the forefront—simulating the way natural light interacts with the face.
To achieve the perfect contour, apply a shade that is a few tones deeper than your natural skin color to areas like the hollows of your cheeks and the sides of your nose. Then, highlight the elevated areas—such as your cheekbones, brow bones, and the bridge of your nose—to create balance and lift. It’s important to remember that placement is crucial, but the color also plays a significant role. Opt for cool or neutral-toned contours to replicate genuine shadows effectively, as warm, orangey bronzers may appear too stark for sculpting.
Tip: For those just starting out, using cool or neutral tones will yield the most authentic and flattering results.
Your Essential Contour Kit: Must-Have Products for Beginners
Step 1: Prepare Your Skin
Begin your makeup routine with a luminous primer that helps to smooth out your skin’s texture, creating a hydrated and even base for layering your products. This initial step is crucial, as it enhances blending and ensures your makeup stays intact throughout the day.
Step 2: Select the Right Foundation Base
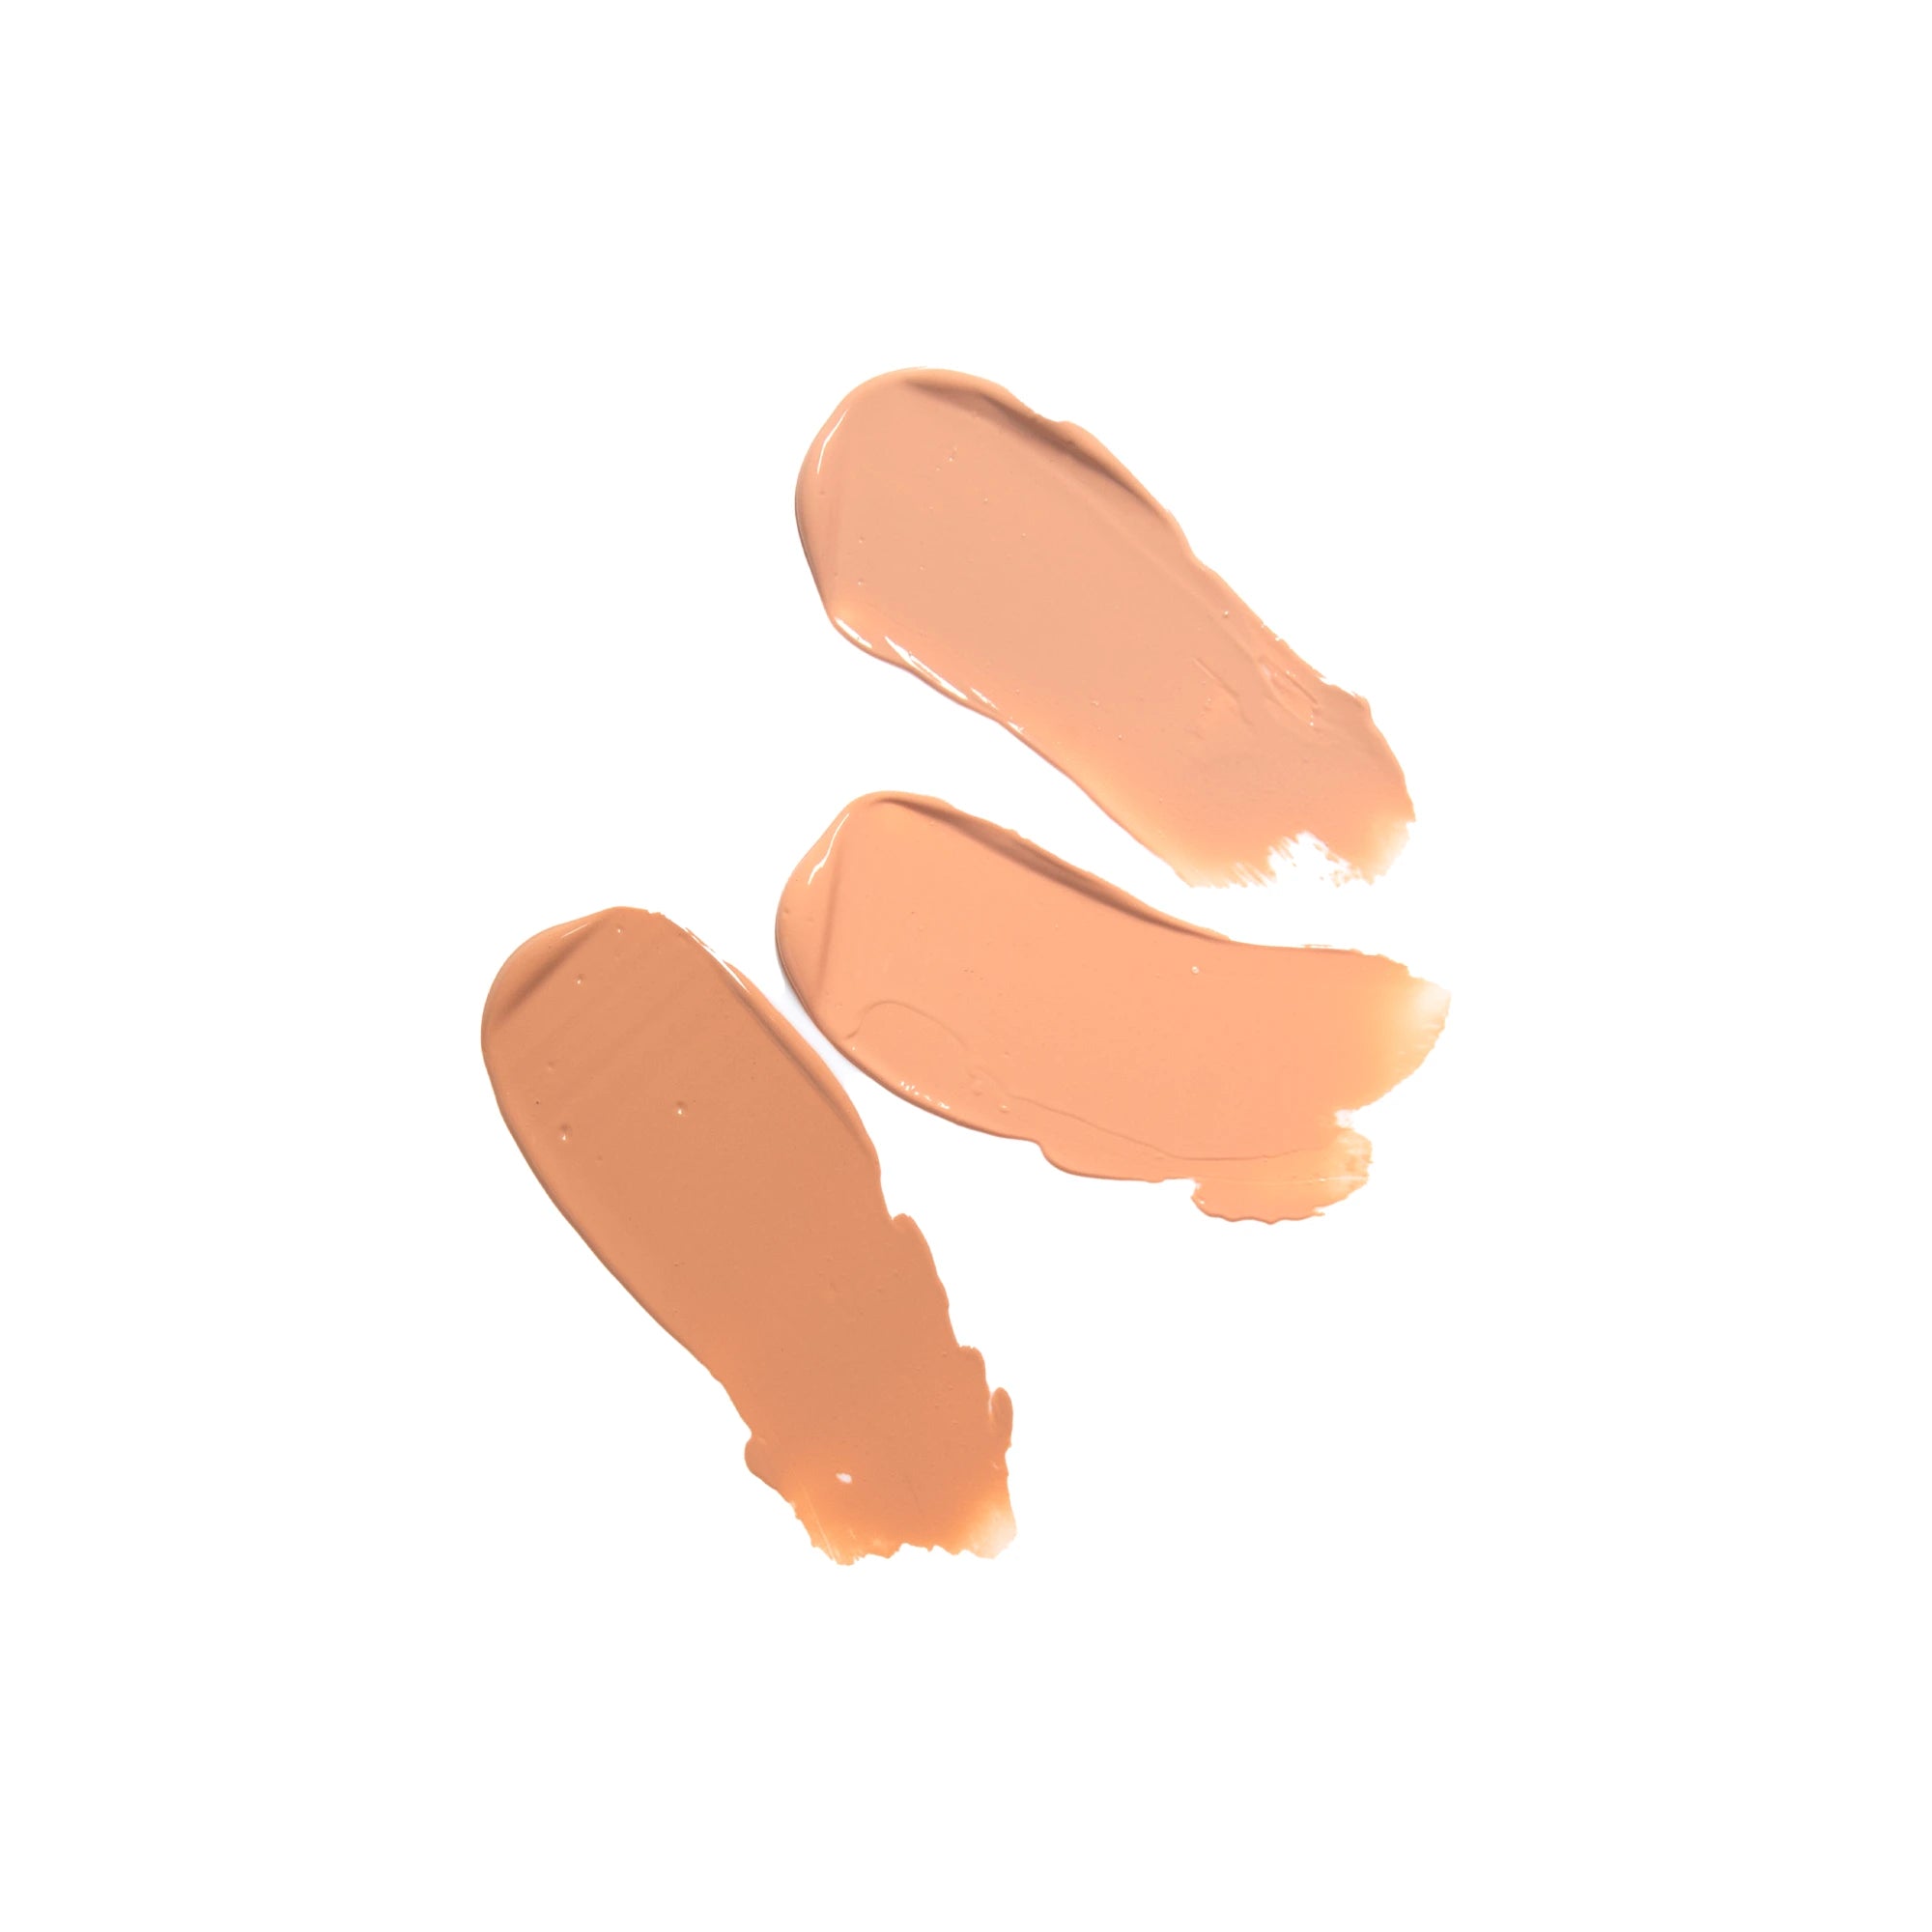
Whether you choose to use a foundation or a concealer, establishing a smooth base is vital for a flawless look. A Full Coverage Water Foundation provides more pigment, creating an impeccable canvas that’s perfect for a more defined contour. Conversely, the 2nd Skin Foundation offers a lightweight, natural finish, ideal for those desiring subtlety.
Step 3: Choose Your Contour Product Wisely
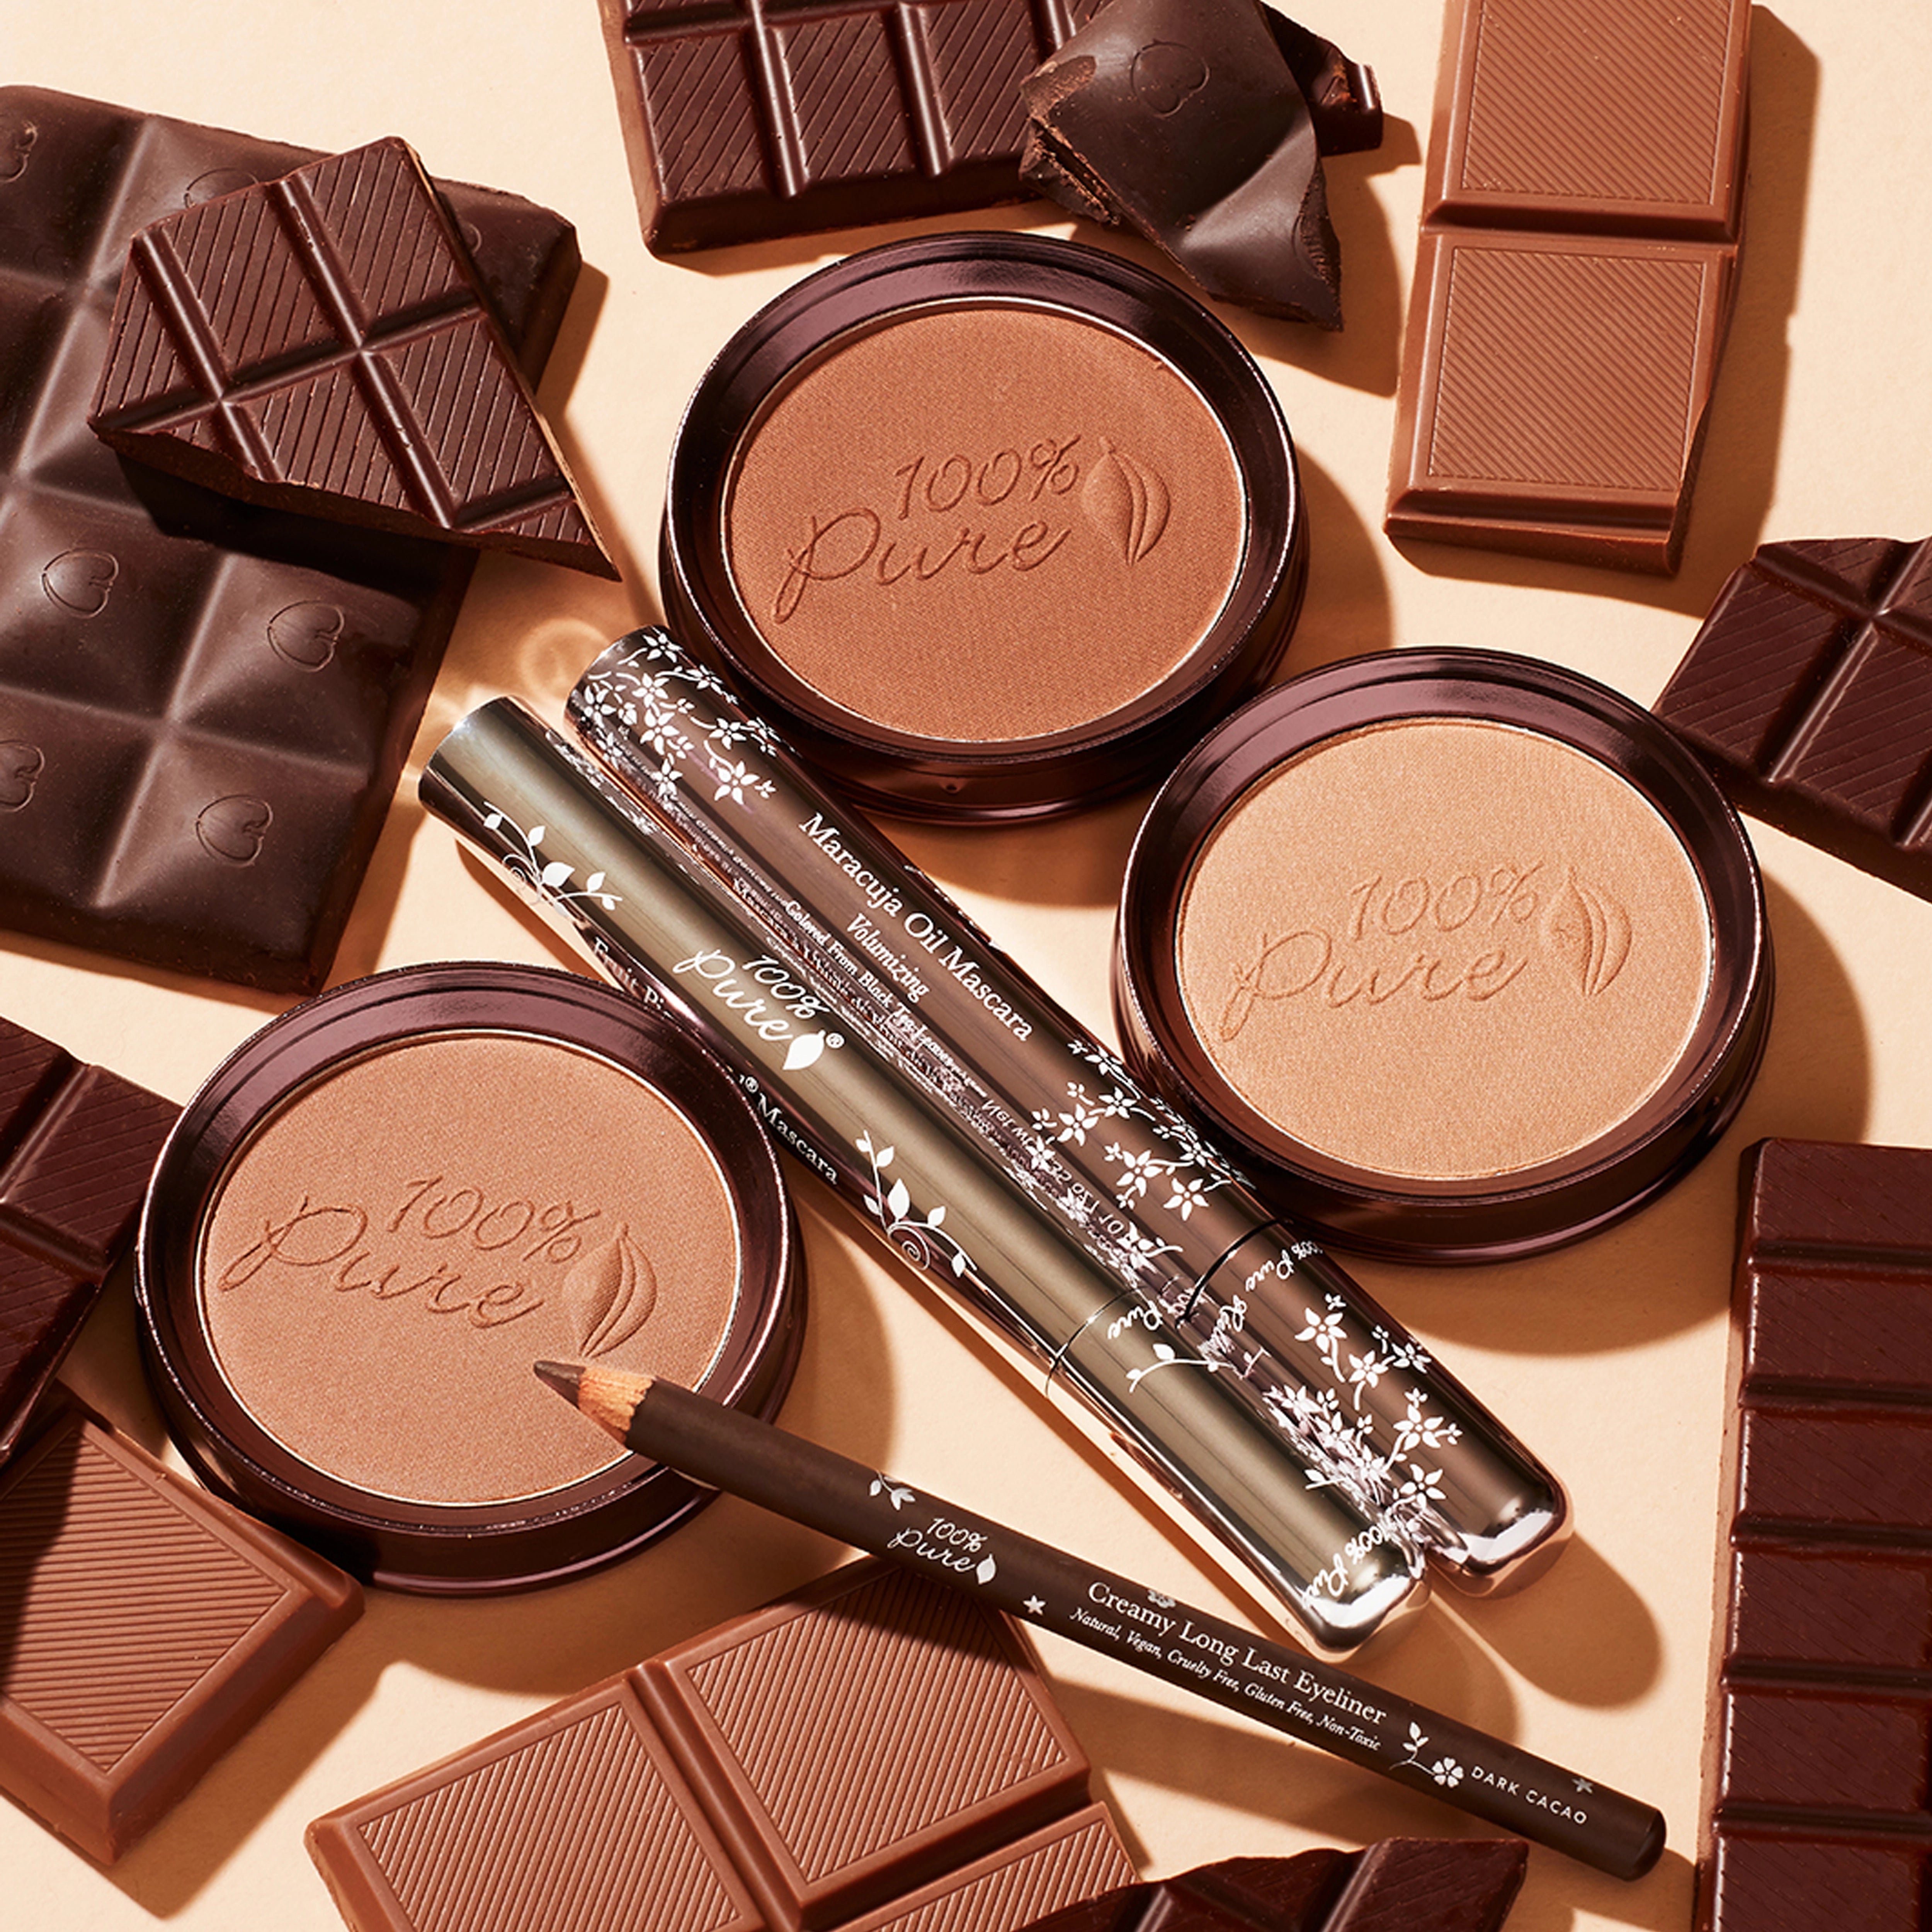
For beginners, powder products are a great starting point. A product like Cocoa Pigmented Bronzer is user-friendly and allows for gradual building of color.
Why choose powder? Powders are more forgiving compared to cream or liquid formulas, blending effortlessly without requiring advanced techniques.
Step 4: Utilize the Right Tools for Precision
The tools you use can significantly influence your contouring results:
Blending brushes are essential for achieving smooth transitions.
Angled brushes provide precision for defining cheekbones and jawlines.
Beauty sponges (optional) can be effective for cream contours if you decide to explore them in the future.
Step-by-Step Guide: Where to Apply Contour for Maximum Impact
The essence of effective contouring lies in understanding where and how to apply these shades to accentuate your features without overwhelming them.
Cheekbones
To identify your natural hollow, suck in your cheeks gently. Begin applying contour at the top of your ear, blending toward the middle of your cheek to create dimension.
Jawline
Apply contour directly beneath your jaw rather than on the sides of your face. Blend downward to eliminate harsh lines and achieve a smooth transition that enhances your jawline.
Forehead
Optionally, apply a subtle contour along your hairline to balance your facial proportions, particularly if you have a larger forehead.
Nose (Optional)
For beginners, it’s advisable to keep nose contouring minimal and save this technique for later as you gain confidence in your skills.
Mastering the Art of Blending for a Flawless Finish
The key to achieving seamless contouring lies in the blending process. Utilize circular motions with light pressure to merge the contour and highlight products into your skin. Always blend in an upward motion instead of downward to create a more natural, lifted appearance.
Utilizing a Clean Brush Technique
To soften any harsh lines, use a separate, clean brush after blending. This approach ensures a smooth transition between the contour and highlight areas, preventing any visible demarcation lines.
Layering for Enhanced Control
Start with a light application and gradually build up the product. It’s always easier to add more than to remove excess, so take your time and build your contour slowly to achieve a flawless finish.
Highlighting and Setting for a Radiant Look
Highlighting plays a crucial role in adding a radiant glow and emphasizing the high points of your face. Apply a light layer above your cheekbones, along the brow bone, and in the center of your forehead. For a clean, natural finish, opt for soft shimmer or satin tones, such as those in the Rose Gold Palette.
To secure your makeup in place without creating a cakey appearance, use Bamboo Blur Powder to lightly set your makeup. A gentle dusting ensures everything stays in place while maintaining that soft, natural finish.
Avoiding Common Contour Mistakes: Tips for Flawless Application
Is Your Contour Too Harsh?
If your contour appears too intense, simply reblend and soften it using foundation or a clean brush. This technique will help to create smoother transitions and soften any harsh lines.
Is Your Contour Looking Too Orange or Muddy?
If your contour appears orange or muddy, switch to cooler-toned products, such as Cocoa Pigmented Bronzer. Cooler shades replicate natural shadows more effectively and blend seamlessly into your skin.
What If Your Contour Disappears Completely?
If your contour fades away, opt for a shade that is 1–2 tones deeper than your skin tone. Apply it in light layers, gradually building up to the desired depth without overdoing it.
Is Your Contour Patchy or Uneven?
Patchy contouring usually indicates that your skin prep isn’t optimal. Ensure your skin is well-moisturized and primed with Luminous Primer to create a smooth, even base that facilitates better blending of makeup products.
Customizing Your Contour Technique Based on Face Shape
Not all faces can be contoured in the same manner. Here’s a quick reference guide for customizing your contouring techniques according to different face shapes:
Oval: Concentrate contouring on the cheekbones to highlight their natural beauty.
Round: Add definition to the cheeks and jawline to create more angles and elongate the appearance of the face.
Square: Soften the angles around the jaw and temples to achieve a more rounded, gentle look.
Heart: Contour the temples and balance the chin to create a sense of symmetry and harmony.
Long/Oblong: Implement contour along the forehead and chin to shorten the vertical length of the face, promoting balance.
Your Journey to Mastering Contouring: A Beginner Timeline
Becoming proficient in contouring is a gradual endeavor, and with consistent practice, you will notice steady improvements in your skills. Here’s a beginner’s timeline to help you build confidence and expertise:
Weeks 1-2
Concentrate on mastering the contouring of your cheekbones. Familiarize yourself with the fundamentals and establish your rhythm.
Weeks 3-4
Expand your skills by adding definition to your jawline and forehead for a more sculpted appearance.
Weeks 5+
Begin exploring subtle nose contouring and focus on balancing your entire face for a more refined overall look.
With each step, you will grow more comfortable and adept, so take your time and enjoy the journey!
Essential Products for Effective Contouring
Contouring is centered around enhancing your natural features rather than transforming them. By utilizing the right products—such as 2nd Skin Foundation, Cocoa Pigmented Bronzer, and Bamboo Blur Powder—you can achieve a subtle definition that lifts and sculpts your face. Keep in mind that the objective is to highlight your features, not to mask them.
Frequently Asked Questions About Contouring
What exactly is contour makeup and why is it beneficial?
Contouring is a specialized makeup technique that defines and sculpts the face through the creation of shadows and highlights. It accentuates your natural bone structure, adding depth and lift to features such as your cheekbones, jawline, and nose. This technique can help create a more balanced, chiseled appearance without the need for heavy makeup.
How do I determine whether to apply concealer or foundation first?
Begin with foundation to establish an even, smooth base that covers imperfections and provides a good canvas for contouring. Concealer should be applied afterward to brighten specific areas, such as under the eyes, and to cover any blemishes. Following this order aids in seamless blending without disrupting your base.
What is the best contour product for someone new to makeup?
For those just starting, powder contours are the most user-friendly option. They are forgiving, blend well, and allow for gradual buildup. Consider using Cocoa Pigmented Bronzer for a natural, neutral tone that mimics real shadows. Powder contours are less intimidating than cream or liquid formulations and deliver a softer finish.
Can I substitute bronzer for contour products?
While bronzer adds warmth and a sun-kissed glow, it does not provide the same definition as contouring products. Contour products have cooler undertones to mimic natural shadows, whereas bronzers are warmer and intended for adding dimension. If you lack contour products, you may use bronzer lightly in a pinch, but it will not achieve the same sculpted effect.
What distinguishes setting powder from finishing powder?
Setting powder is designed to lock in your makeup and prevent it from moving throughout the day, helping to mattify and keep your makeup in place. In contrast, finishing powder is used to blur imperfections, smooth out texture, and give your skin a soft, airbrushed appearance. It is often translucent and enhances the overall finish of your makeup.